Tips for Using the Site
Learn more about what's possible on the Transition Discoveries website! Create a free account to start the Discovery Journey. The Discovery Journey is a series of activities and adventures to help youth explore future possibilities. As they navigate the journey, things they learn about themselves are shared on their Discovery Board. They also earn Discovery Coins which can be used to buy stuff at the Discovery Store.
General Tips
Navigating the Resource Center Video
Navigate to Resources in the top menu.
- You may browse the resources by clicking on the topic menus on the left side of the page and selecting the options you want to see. Then click "Search" to bring them up on the right side.
- You can also search resources by keyword in the search bar.
- To remove items from your search, you can either deselect them and search again, hit the "Reset" button to start over, or quickly remove a single item by clicking on the xat the top.

Saving resources for later (must be logged in):
- When you find a resource that you like, click on the icon on the top right of card.
- To view your saved resources:
- You can view them from the Resources page by selecting "My Favorites" underneath the search bar.
- You can view them from your Discovery Board in the bottom section called "My Resources."
- The page will also remember where you left off.
Discovery Journey Walkthrough Video
When youth create an account, the first step is to complete your Discovery Journey. This is an activity where you will answer questions to map out your goals, interests, and experiences. The results of your journey will be shared on your Discovery Board.
Each time you log in to Transition Discoveries, you will be prompted to do your Discovery Journey until it is complete. But you do not have to answer all the questions at one time. Take your time and enjoy the journey!
Once complete, your Discovery Board will be created for you! This is when the fun really begins!
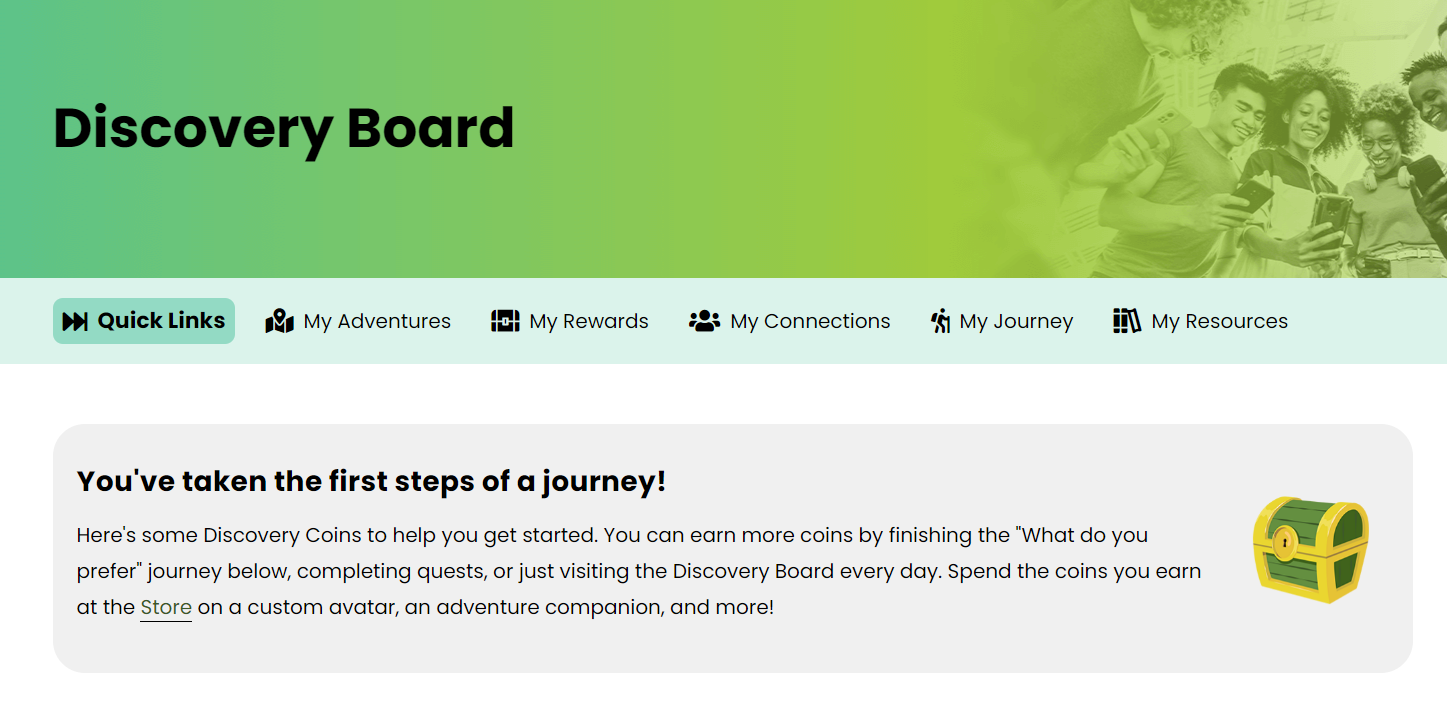
Note: Professionals and Family Allies will also be prompted to complete the Discovery Journey, but it is not required. This will give you the opportunity to understand and try out the same path as the youth you are connected to. Complete the activity, and you may just learn a little bit more about yourself as well!
Discovery Board
On the Discovery Board you can view your account information, explore youth training and incentives, review Discovery Journey results and related job occupations, and much more. Professionals can also use it to access professional subscription resources. Consider it your Transition Discoveries hub.
Navigating Your Discovery Board Video
Navigate to Account > Discovery Board
The Discovery Store offers cool items that you can purchase with Discovery Coins, which is a type of virtual currency that you can only use on Transition Discoveries. Many of the items you purchase will be on your Discovery Board.
Youth can earn coins by completing activities and getting high scores in the mini games inside their adventures. Everyone can earn coins by completing the Job Interests portion of their Discovery Board, as well as opening the daily loot chest.
- Navigate to Account > Discovery Board
- Scroll down to the "Rewards" section and click on "Go To Store"
- At the top of the Store page you will see how many Discovery Coins you have.
- As you scroll down you can see all of the items available for sale.
- If you have enough coins to purchase an item, the "Buy Now" button will appear. Click the button to purchase.
Pro Tip: most people first purchase the avatar and companion to start with, but you can choose whatever you like.
If you have enough Discovery Coins, you can create your own personal avatar.
Accessing the avatar builder:
- Click on the icon on the top right of the avatar slot.
- If you have not already purchased it from the Discovery Store, you will be shown a notice and a link to the store. Otherwise, the avatar builder will appear.
Building your avatar:
- After choosing a style, you will be shown the builder that looks like this:
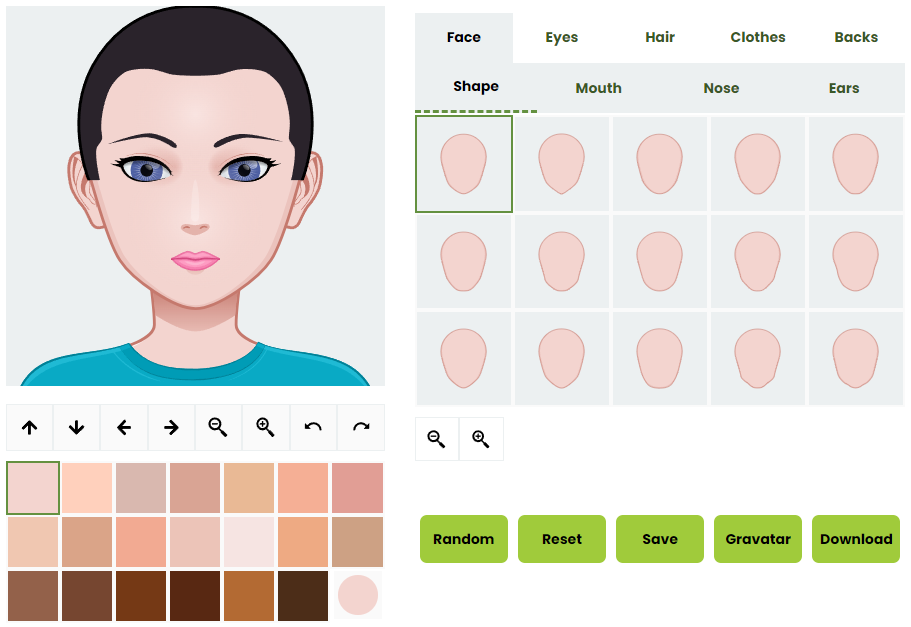
- You can click on the parts of the avatar you want to change from the tabs at the top right of the builder.
- Each part has several shapes to choose from underneath the tabs.
- There may be additional items underneath the shapes such as making them bigger or smaller.
- On the left you will see your avatar change as you select things.
- Underneath the picture there are options to move your avatar inside the square container.
- Underneath the movement options is a color palette that allows you to change the color of any shape that you choose. So if you want to change skin color, make sure you have the shape of the face selected on the right, then choose the color on the left.
- You can choose a color that is not shown by clicking on the circle on the bottom right of the color palette.
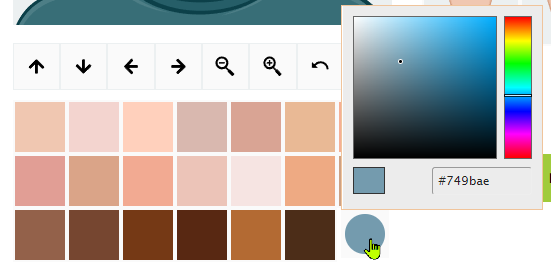
- You can choose a color that is not shown by clicking on the circle on the bottom right of the color palette.
- You can also choose a random avatar to start with by clicking on the "Random" button.
- Select the "Reset" button to start over. If you want to choose a different style, you will have to refresh the page.
- Make sure to save your avatar by clicking on the "Save" button. Once you save your avatar, you can go back to your Discovery Board to see it live.
- The "Gravatar" button allows you to upload your created avatar to your Gravatar.com account if you have one.
- You can also click the "Download" button to save your avatar image on your device.
You can change the way your name appears on your Discovery Board if you purchase it from the Discovery Store.
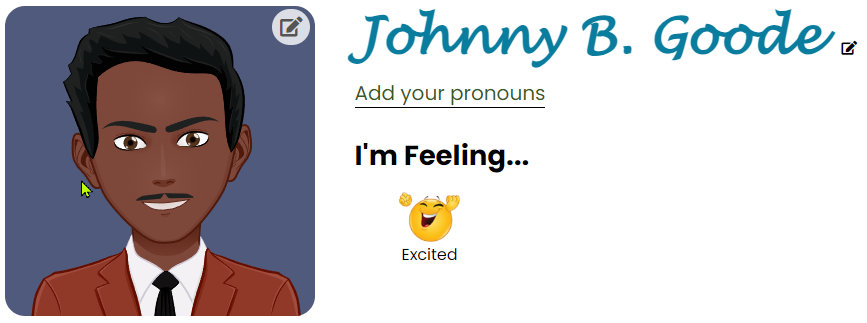
Just click on the icon on the right side of the name and select the options you want.
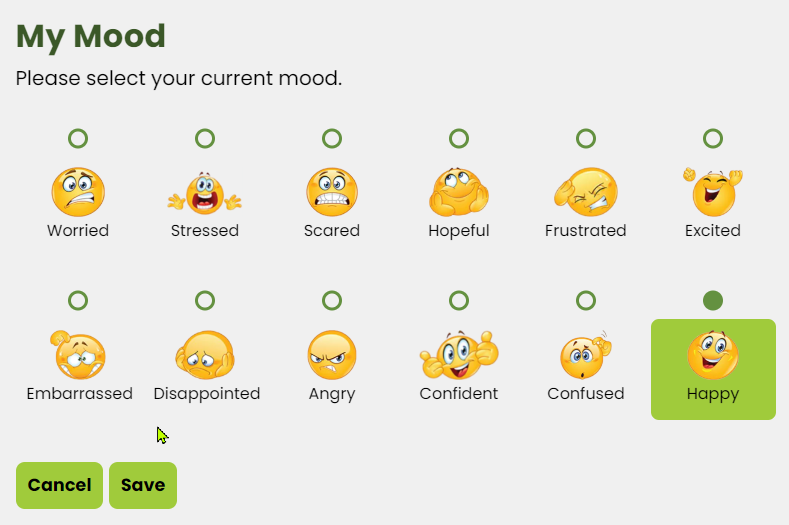
Underneath your name you will see a spot showing "I'm Feeling..." with an emoji describing your mood.
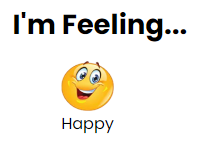
If you click on the emoji, you can choose your mood. Click "Save" when you're done.
You can choose a companion to come with you on your journey.

Accessing the companion picker:
- Click on the "Choose Companion" button.
- If you have not already purchased it from the Discovery Store, you will be shown a notice and a link to the store. Otherwise, the companion picker will appear.
Picking your companion:
- You can choose from any of the 25+ companions available. Just select the image of the companion you want.
- Give your companion a name.
- Click the "Save" button when you're done.
- You may change your companion at any time.
Adventures offer opportunities for youth to continue exploring their future and to add to their Discovery Journey. Each Adventure is based on a Transition Discovery topic focused on key areas for success after high school.
Adventures are organized into Quests which are a collection of tasks to be completed along the Discovery Journey. After completing all Quests, the Adventure is complete.
A list of Adventures is included on the Discovery Board. You can click on them to learn more and dig deeper into the path youth will travel during this training.
You can also see progress and download certificates from this section.

Clicking on "Go To Adventure" will take you to the adventure where you can take the training and complete quests.
Completing adventures:
- Scroll down to the "Adventure Content" section and click on the first quest to get started.
- On the quest page under "Quest Content," click on the first task listed.
- Complete each task and then click on the "Next Task" button on the bottom right of the page.
- Complete each task to complete a quest.
- Complete each quest to complete the adventure.
Youth can earn special badges from completing adventures or other training milestones. Badges will be shown under the "Rewards" section.
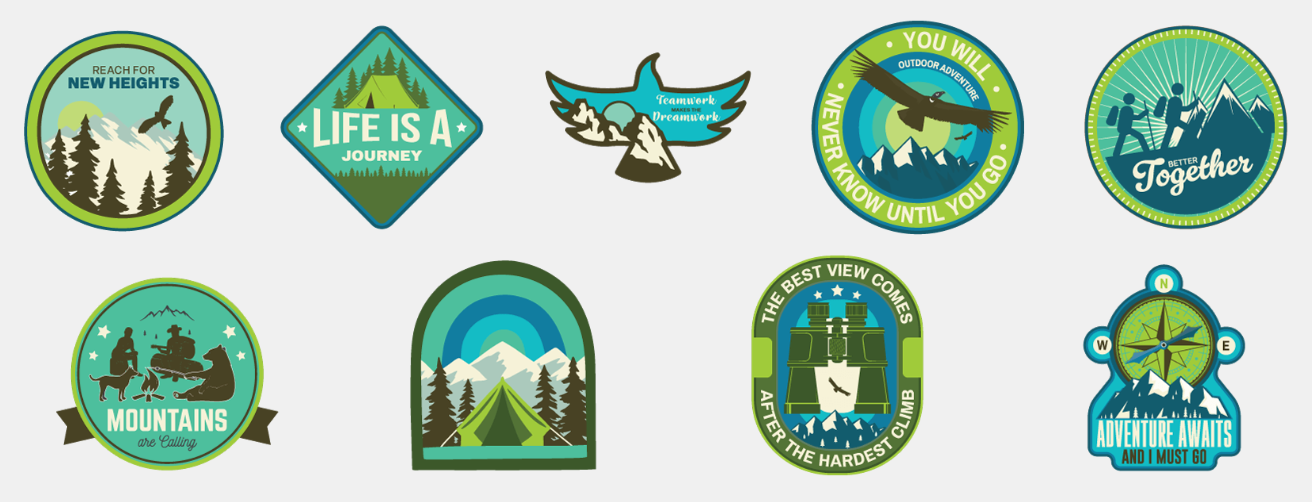
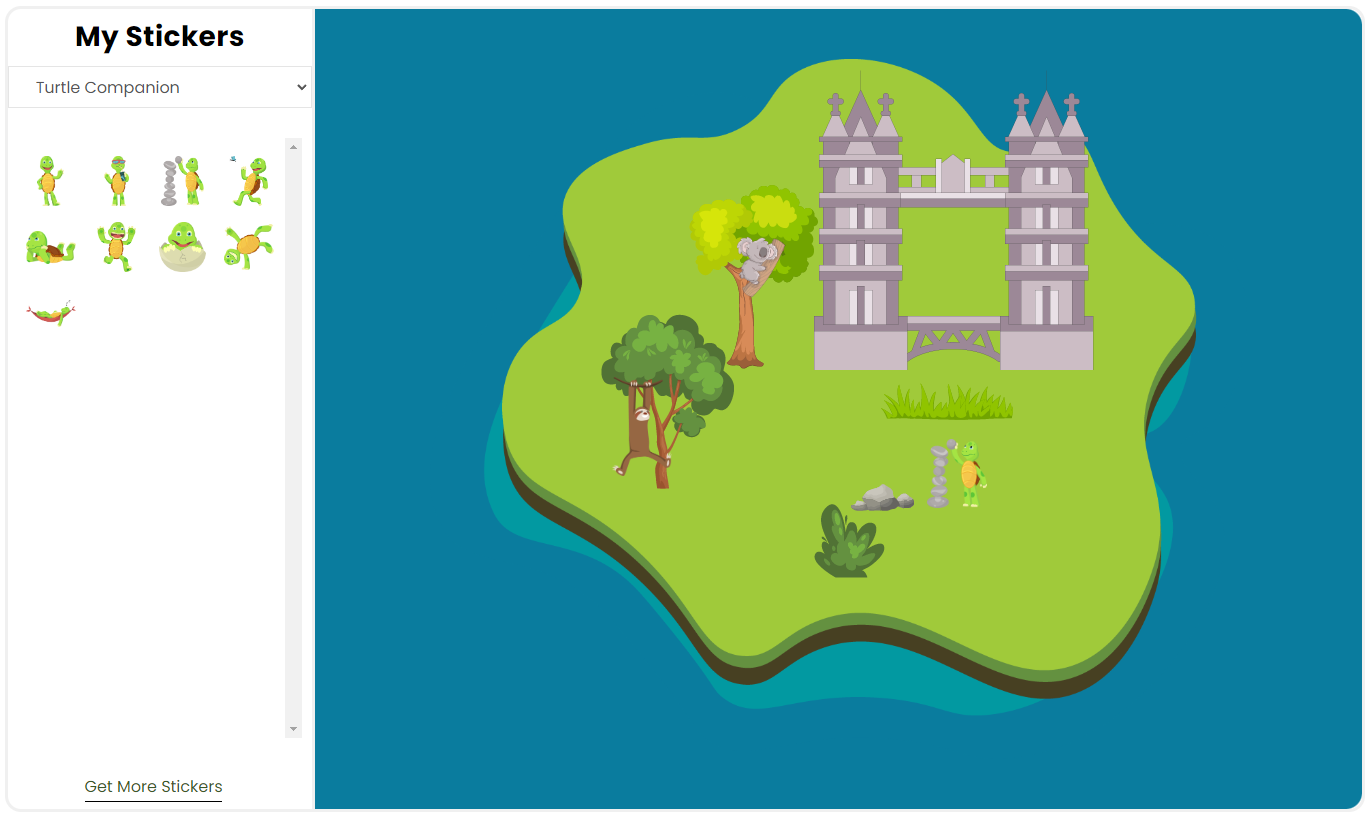
Anyone can create a sticker map for free. You don't need Discovery Coins to access it. Just navigate to the "Rewards" section of your board and click on the "Edit Map" button.
Getting started:
- Choose your island by selecting an image
- Give your island a name
- Select "Build My Island"
Sticker map editor:
- Click the stickers in the left panel to add them to the map. You cannot drag them from the left panel.
- Move them around on the map with your mouse or arrow keys.
- Remove stickers by double-clicking them or using the delete key.
- If you want a sticker to be placed in front of another image, then you must add the background sticker first, and then the overlaying sticker.
- Don't forget to save your map when you're done!
The results of the Discovery Journey are shared in this section.
- Youth are required to take the Discovery Journey when they register for a new account. In fact, they will not be able to see the Discovery Board until they have completed it.
- Professionals and Family Allies will be able to see their Discovery Board without completing the Journey as it is optional for them.
My Job Summary:
- Includes detailed information on jobs relevant to your/youth interests based on the "Would you rather..." quiz choices.
- Click on an interest name to get an overview.
- Click on the "Learn more" links to take a deep dive into each interest area.
- On the interest pages, click on an occupation in the list to view detailed information.
